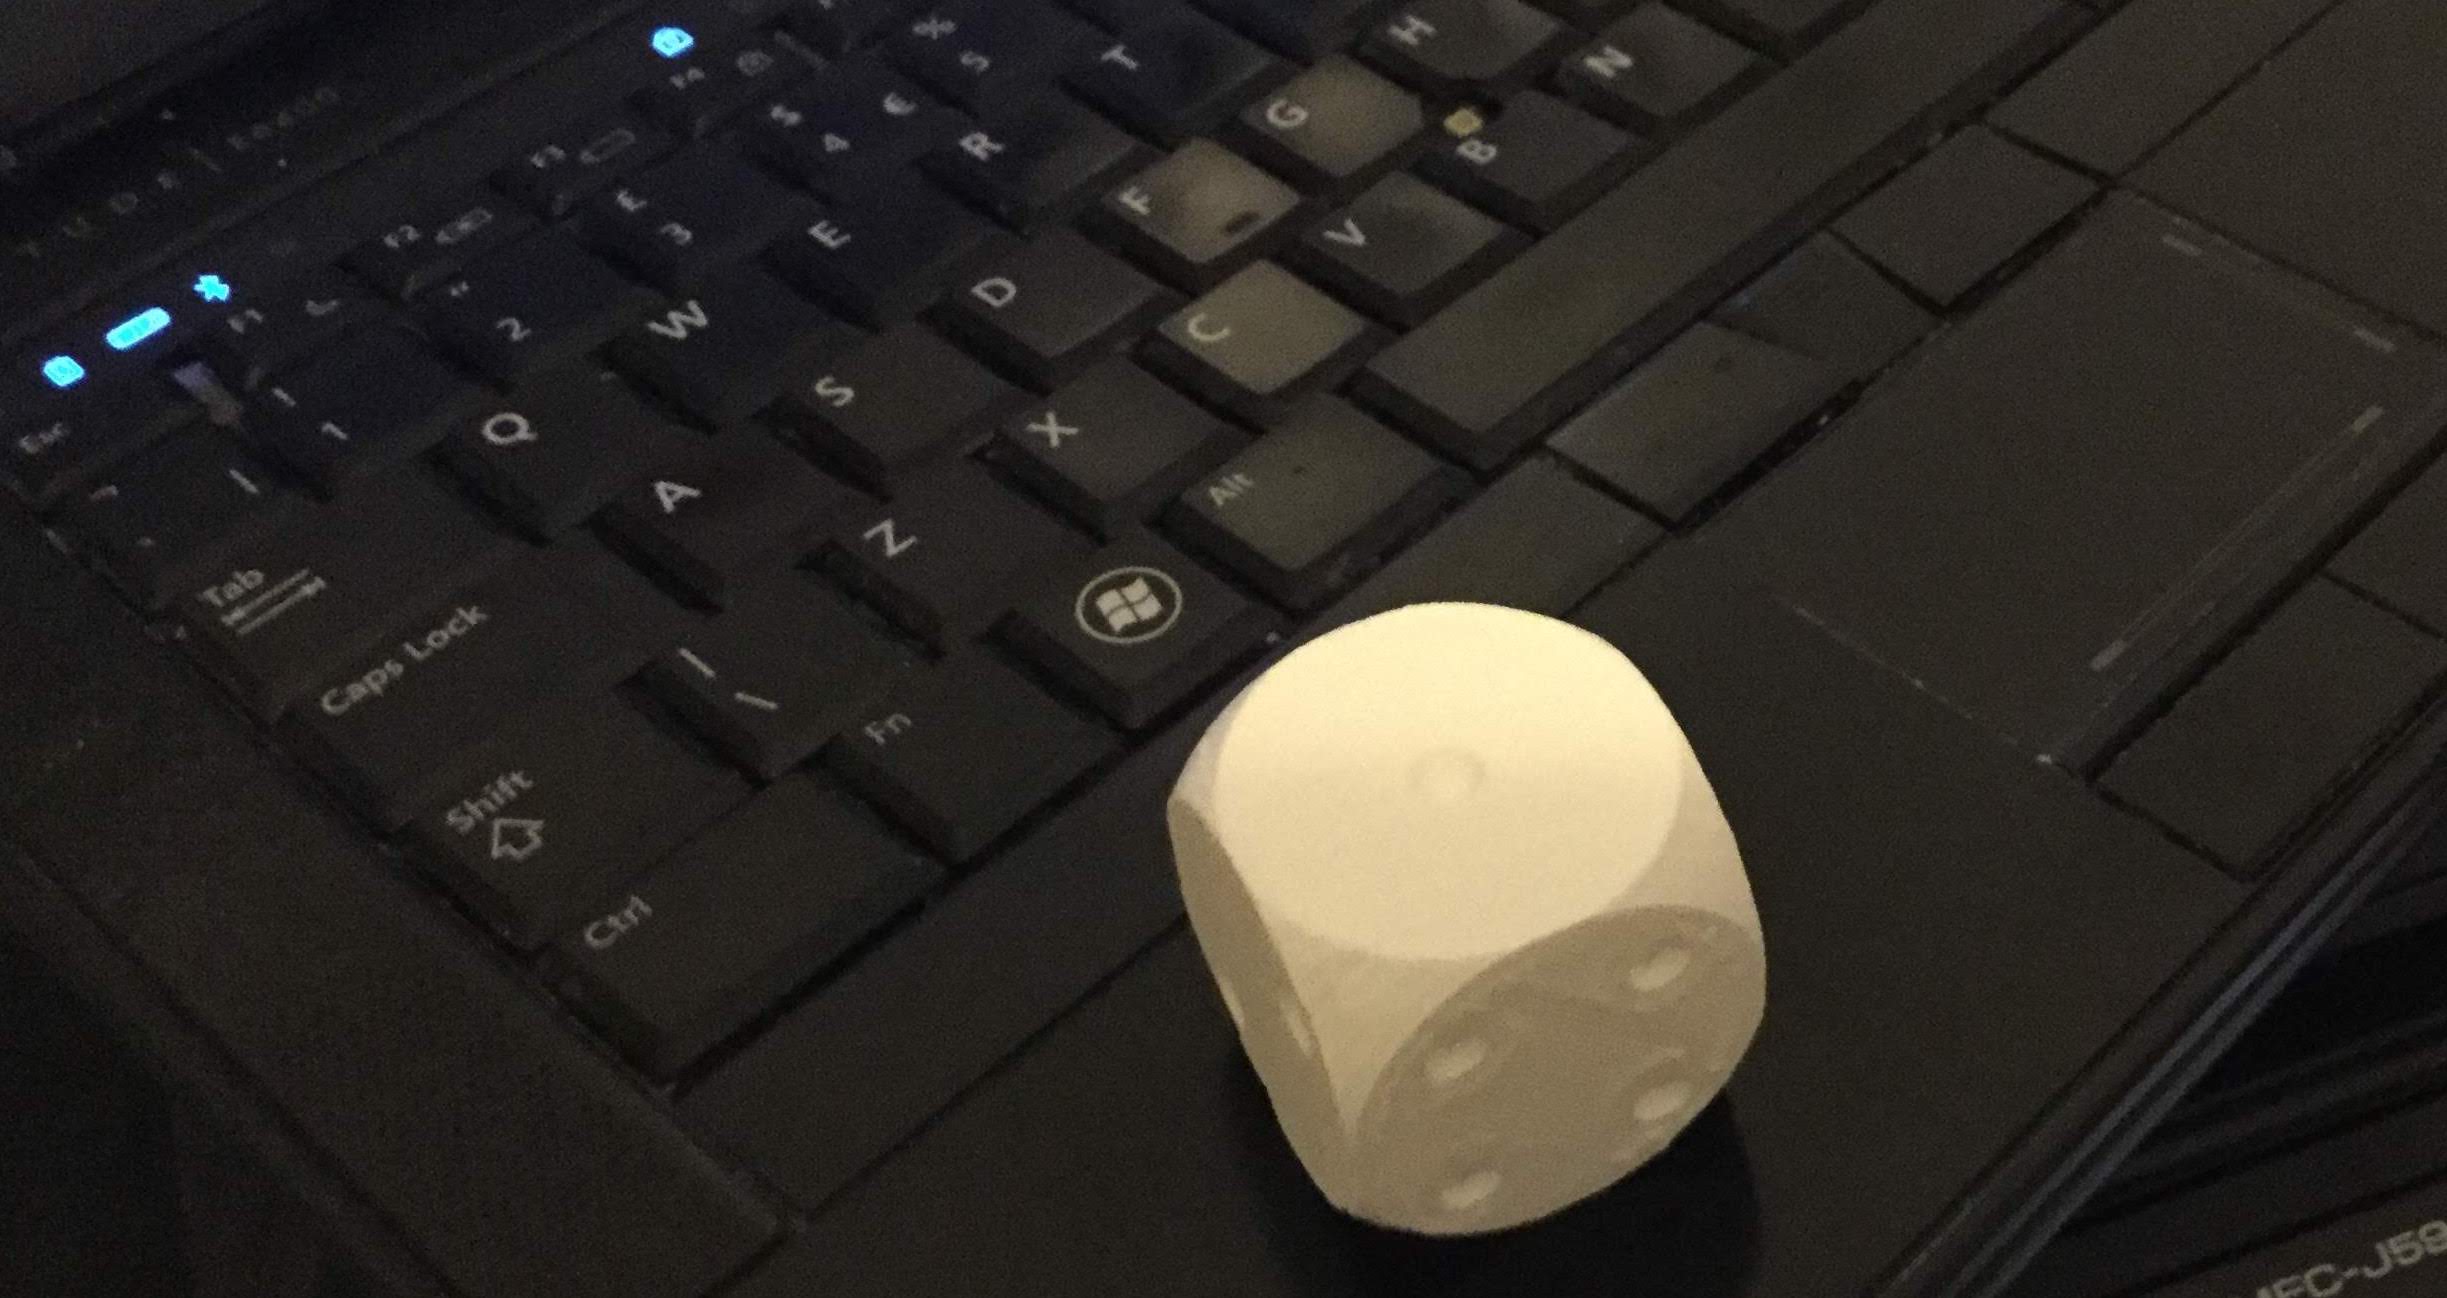
We bought this printer in a sale. It was missing a few important parts, including the SD Card with software on it to control it from a laptop. Without that software, we would be limited to the four models that were already in the printer.
I wasn’t able to find the contents of the SD card, but I found some software online. The Dremel 3D printer website must have changed since the instructions were produced, because the software it referred to has vanished, and there was something else instead … which also requires a firmware upgrade.
Connecting the USB cable, the printer wasn’t recognised by my ancient laptop. I cheated and borrowed my wife’s laptop (newer version of Windows, newer hardware), in order to install the firmware. Once that was done, I re-installed the Dremel3D software on the ancient laptop, and it detected the printer OK.
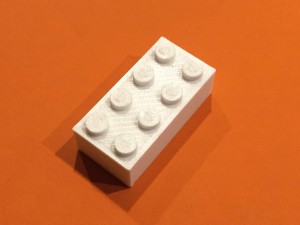
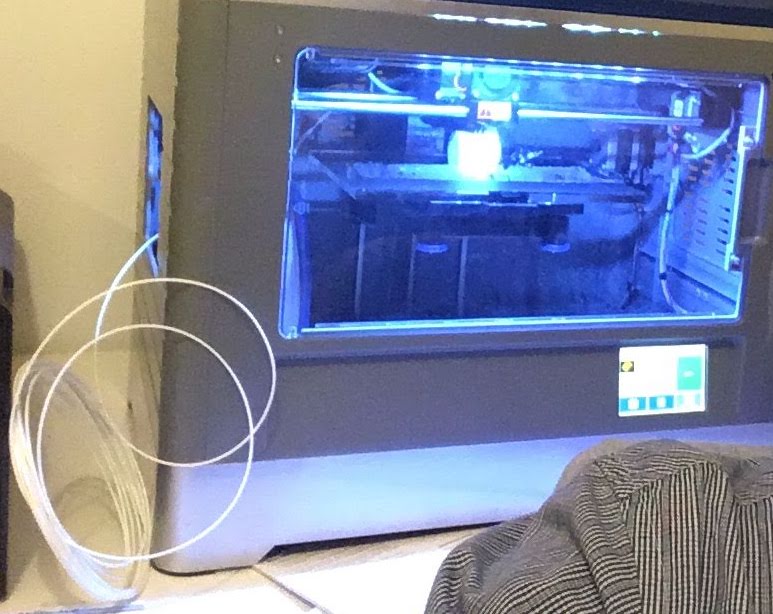
I imported a Lego-compatible brick (Thingiverse item 1729056), and printed it from the Digilab 3D slicer software, via the USB cable. Using “standard” resolution (0.2mm layer height, 25% infill, 220 degC), it took 18 minutes to make a 2×4 brick. The software estimated 0.88m of filament. The brick is mostly compatible with real LEGO, which suggests it is a remarkably good test for the accuracy of the printer.