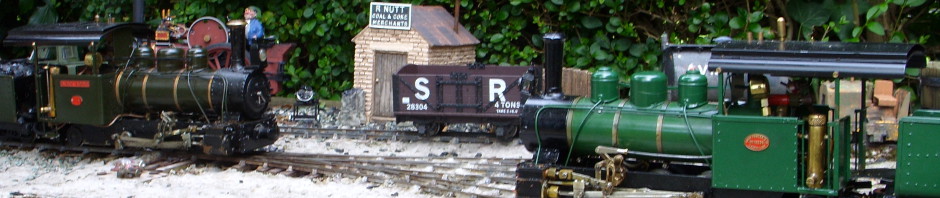
In my previous post, I described getting the boiler and gas tank tested, and promised to start putting the loco together. This has proved to be quite fiddly.
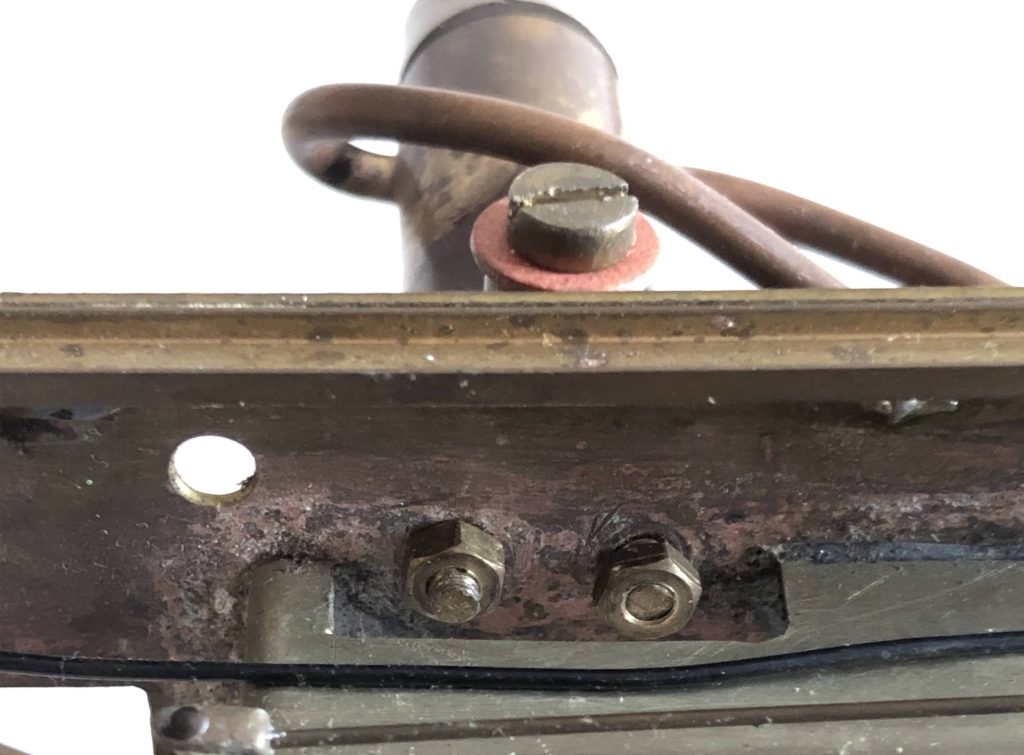
The first fiddly bit relates to the bolts in the bottom of the lubricator. The bolts are soldered into the bottom of the lubricator, which is rather useful, as it means they fit and I can’t lose them. As you might be able to see in the photograph below (which is taken from underneath), the holes for the nuts are directly in line with a piece of brass – and they are a bit fiddly to install, and there’s barely enough space to get a spanner in there to do them up. For the record, these are M3 nuts.
“Fortunately”, I told myself, “I only need to do these up once”.
With the lubricator installed, I then looked at installing the boiler next to it. This was relatively easy: two bolts on the angle iron at the back into the frame (also M3), and it fits snugly on the smokebox at the front.
Then I realised I had forgotten to bolt in the burner. So I unmounted the boiler, bolted the burner in place, and re-mounted the boiler.
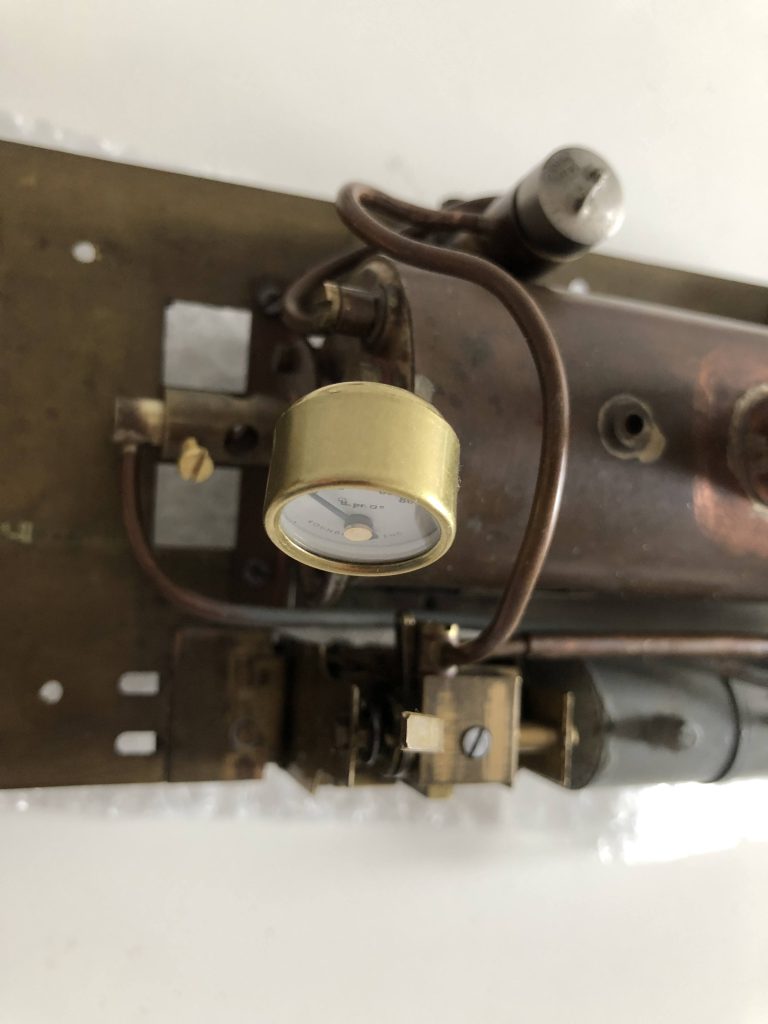
Then I mounted the steam motor, which is fiddly because there is a steam pipe that comes out the back and needs to fit inside the exhaust pipe that runs alongside the boiler. It is also fiddly because the gap in the frames is only just big enough.
At this point, I looked to see how the pipe from the lubricator connects to the steam motor, and realised that the screw that holds the banjo cannot be done up because it faces the boiler. I also realised that the gas tank has to be mounted before the motor, because of how the gas pipe runs to the burner.
All was not lost. I didn’t need to remove the boiler – just the steam motor and the lubricator. Remember those M3 bolts I said I would only ever do up once?
With the lubricator loose, the gas tank installed, and the motor back in its right place (but not bolted down), I took the opportunity to re-shape the pipes so they are neater. I also checked that they don’t get in the way of the cab.
Bolting everything down again was relatively straightforward. I undid the nuts on the lubricator three times in the end. A few weeks ago, I had looked at the nuts and bolts that hold down the steam motor and gas tank, and found that some of the washers and nuts were missing.
This is the second fiddly bit.
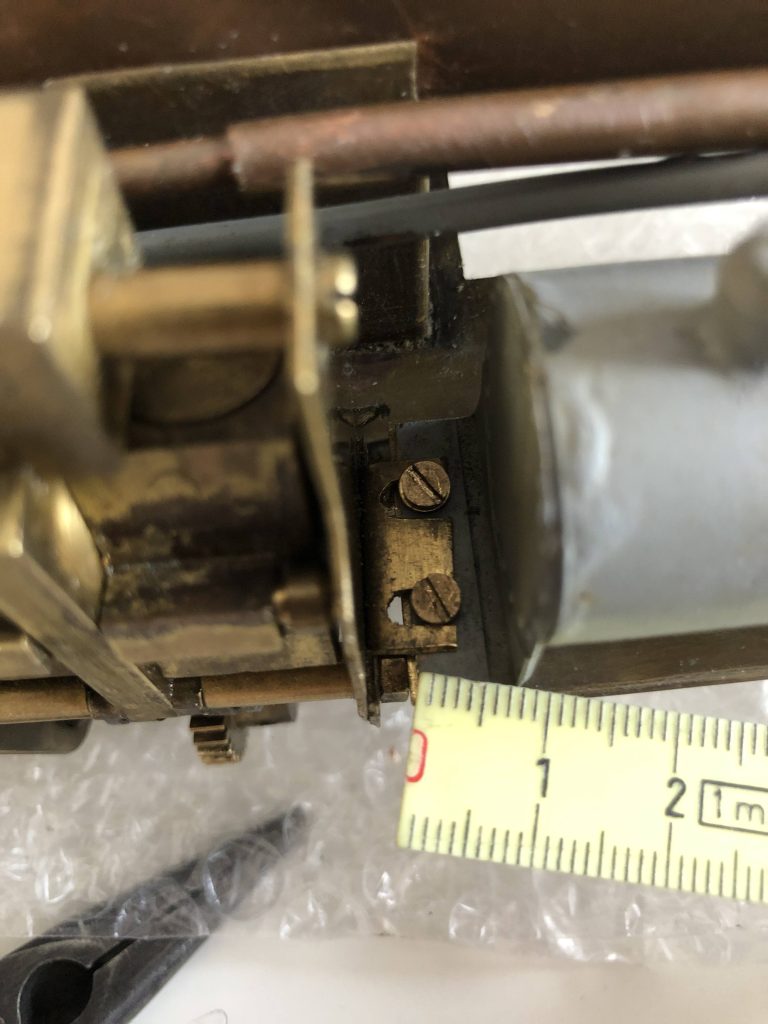
- The two at the burner end of the boiler are M2, and they only hold the steam motor in place.
- The two bolts between the steam motor and the gas tank are also M2, and hold both to the frames.
- The two bolts at the front end of the gas tank are tiny. Possibly M1.6, or possibly 10BA.
I purchased a pack of 8BA washers, and substituted 8BA washers for M2.
I also purchased a small pack of ten nuts, washers and bolts in 10BA from Macc Models (via their eBay shop), but I couldn’t get a 10BA bolt through the hole in the frame, though the bolt that was supplied with the kit does fit. This leads me to suspect that these bolts are supposed to be M1.6 (which requires a 1.6mm hole) instead of 10BA (which requires a 1.8mm hole). However I was able to get a 10BA washer and nut on the bolt-that-is-probably-M1.6 … and it seems to do up.
M2 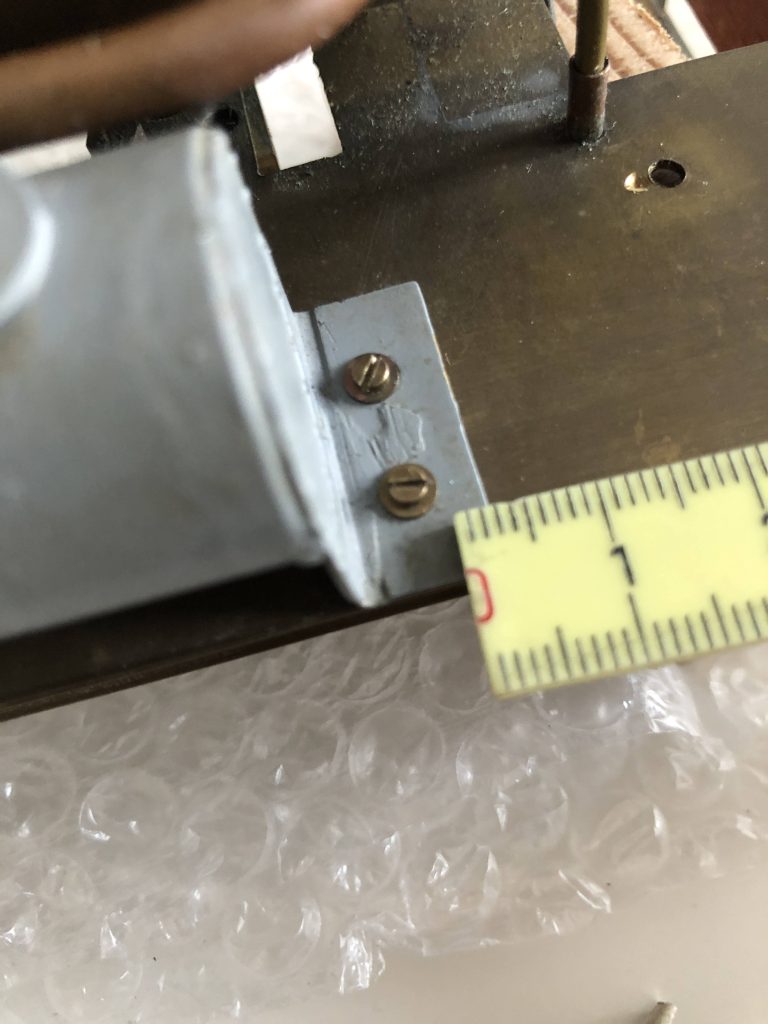
maybe M1.6 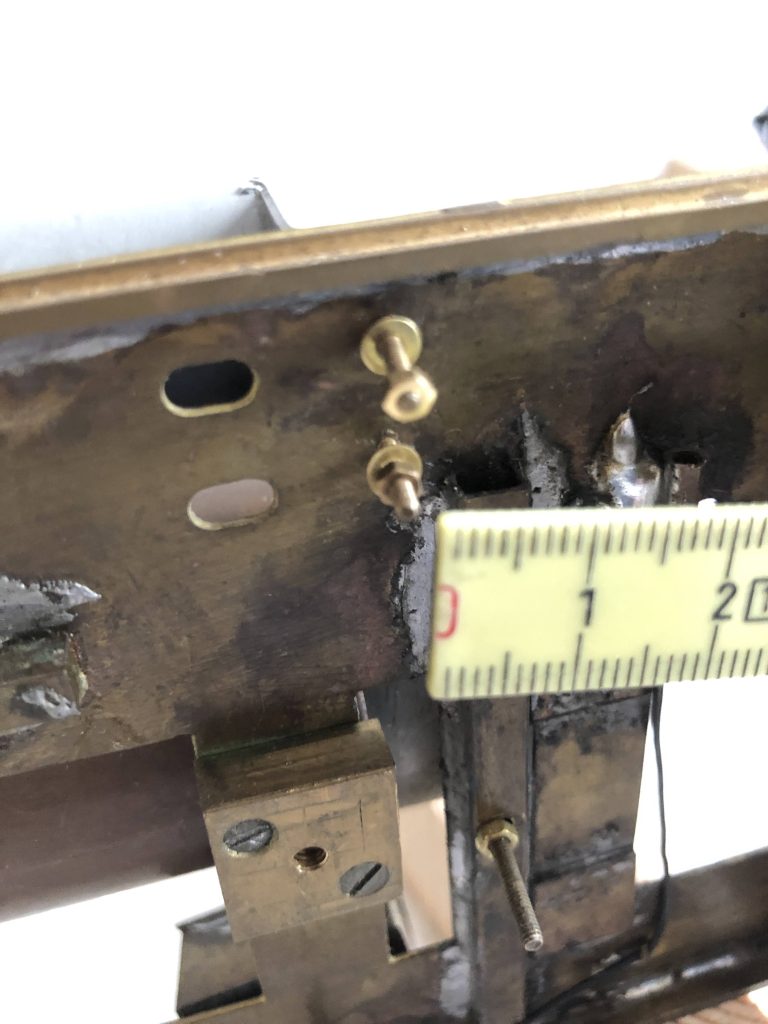
maybe M1.6 (underneath)
A note on small bolts – if you are purchasing such a thing, only buy one size at a time. None of my packages came with a delivery note, so it would have been very difficult to tell the difference if I had bought multiple sizes from different eBay shops at the same time.
Oh, and open the tiny bag over a lid (the lid of a Chinese Takeaway container for example) to stop the bits rolling away.
Justin – 16 June 2022