Following the 3D printer’s instructions online and in the book that came with it, I heated the print head up to working temperature, then carefully used a pair of tweezers to tweeze any filament off the brass nozzle. Doing this a few times removed quite a bit of the stringy stuff.
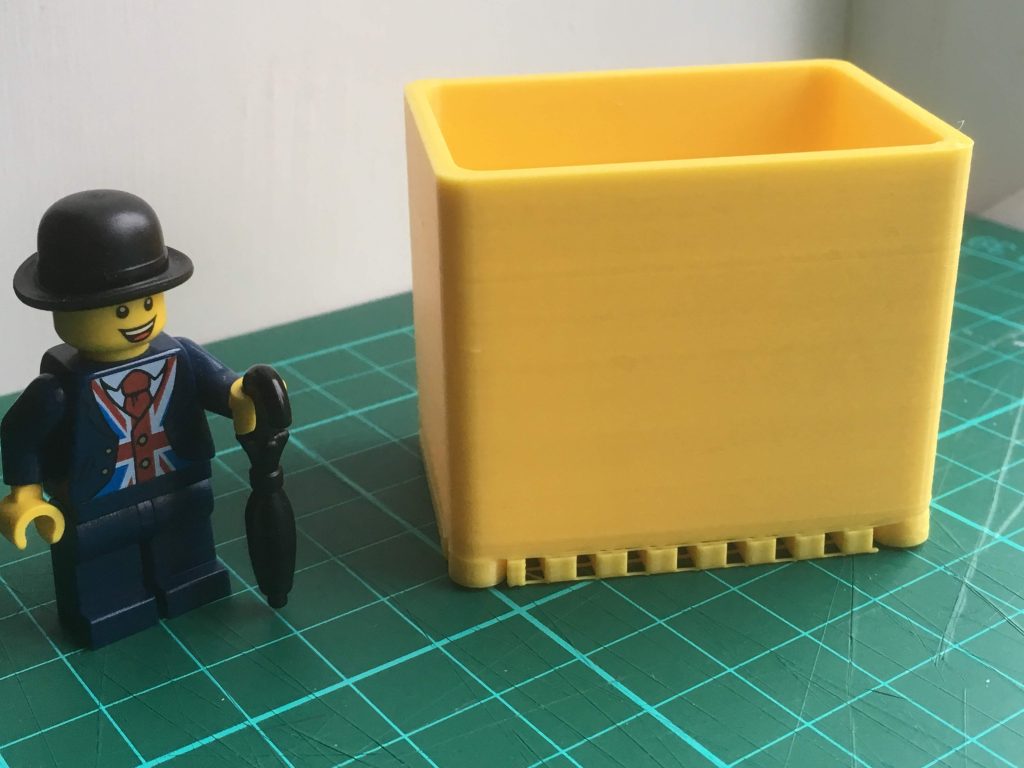
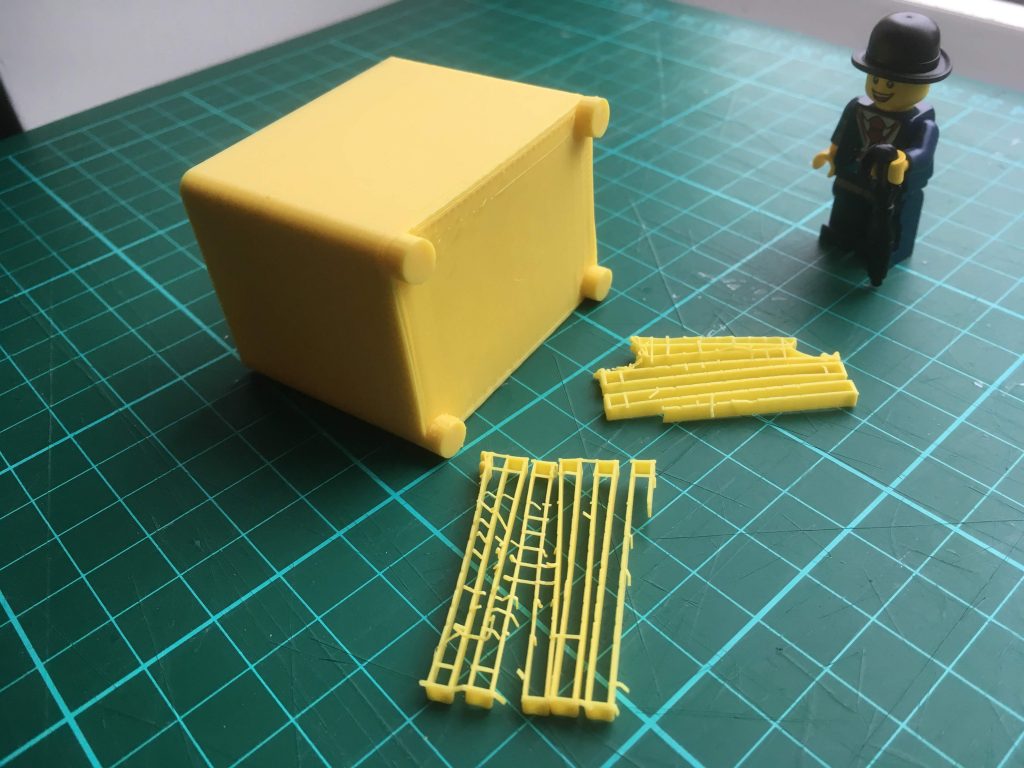
Then I tried another print job, and here is the result, with a Londoner for scale.
Some lessons were learned from this print job, too. The short version is as follows
- Don’t start a print job at 8pm. You’ll get a late night.
- My Cura settings were wrong.
- The stringy version last time was caused by a partly-blocked nozzle.
- Supports are a great idea.
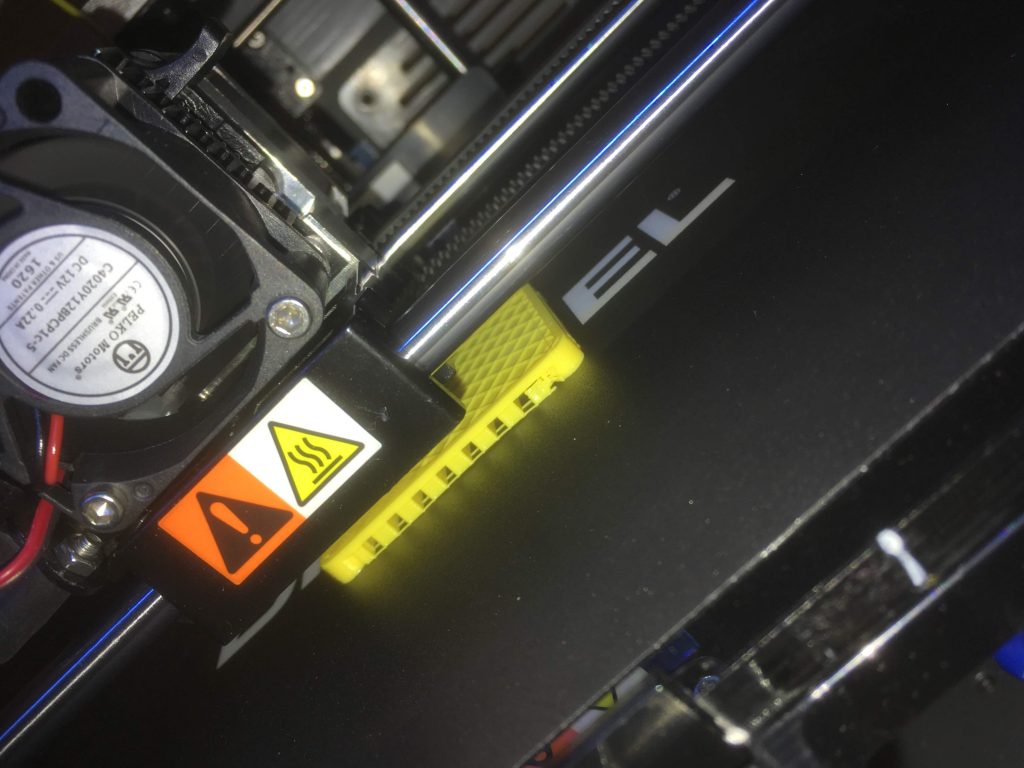
The quality of this box is much better. I think this is because the filament was coming through the nozzle at the right speed. Here is an action shot:
As mentioned before, I’m using Cura to slice the model, because Cura can export to .g3drem files. I corrected my Cura settings by reading the GitHub page of the guy who wrote the .g3drem plugin. Why is reading the documentation the LAST thing we ever do?