Andy's Garden Railway Guide
Trains...

You are in Andy's Garden Railway Guide. If you've arrived here directly from someone else's site, or from a search engine, please visit the home page.
On this site, there's lots of useful information about building a railway outdoors in 16mm/ft, and my own experiences.
My chosen scale is 16mm/ft (what does scale mean?). This scale is usually used to model narrow gauge railways of around 2 foot (600cm) gauge, using 32mm gauge track.
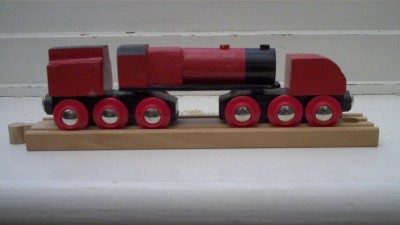
Garratt articulated locos
I'm very interested in Garratt locos. You can learn about them and what this wooden train is doing on a "serious" (cough!) railway website on my Garratt page
© Andy Watkins
L&B Lyd in steam
On the Ffestiniog railway (in the top left hand corner of Wales), a group of volunteers has been working for about 15 years to build a replica of an iconic English narrow gauge locomotive. The new 'Manning Wardle', called Lyd finally raised steam in August 2010.
The original locomotive on which Lyd is based ran on the Lynton & Barnstaple Railway in Devon, which closed in 1935.
More details of the build can be found here.
© 1999-2016 Andy Watkins