Technic Radio Controlled Car (part 2)

In January, I expressed my frustration about the lack of radio controlled car in the LEGO Technic range, or indeed about LEGO Technic cars that can be motor-powered. The latter point appears to have been addressed somewhat in the new 42050 Drag Racer. At the end of the instructions (see the Brickset listing and scroll down), steps are given for incorporating 8293 Motor Set. This makes it possible to add the small ‘M’ Motor to the drive-train, and make this beast do wheelies. The battery box sits right at the back, as a counterweight. Sadly, there appears to be no radio control option in the instructions.

So I am still on my quest for making a radio controlled car out of one of the current Lego Technic vehicles. I have a remote control and receiver, I have motors and servos, I have a battery box and cables. I even have batteries. So let’s look at some of the cars available and see if they are suitable.

First up is 42046 Getaway Racer. Fabulous styling with a pull-back-and-let-go motor. Perfect for smashing into big sister’s feet or newly painted skirting boards, or generally getting bad guys away from the scene of the crime. I built this using parts I already had, hence the slightly different colour scheme from the official version, and the lack of stickers. I love this little rascal.

42046 Getaway Racer

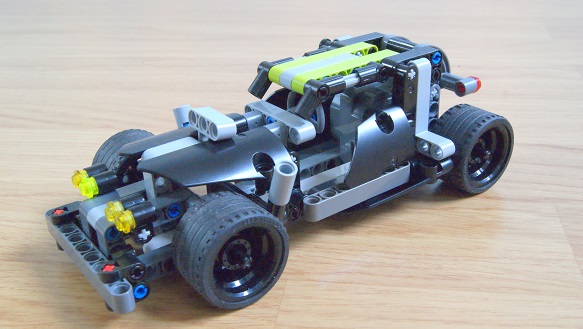
This Technic model is at the lower end of the price range. It is easy to build, targeted at the lower end of the age range, and should present no major problems to new or experienced Technic builders. It’s also great fun to play with.

42046 Getaway Racer

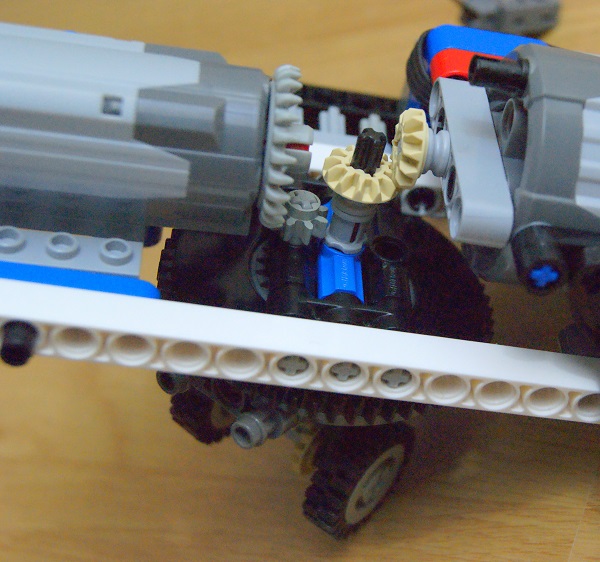
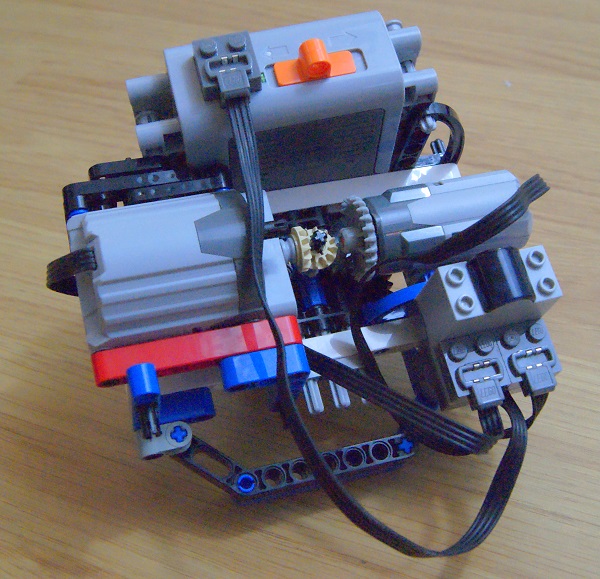
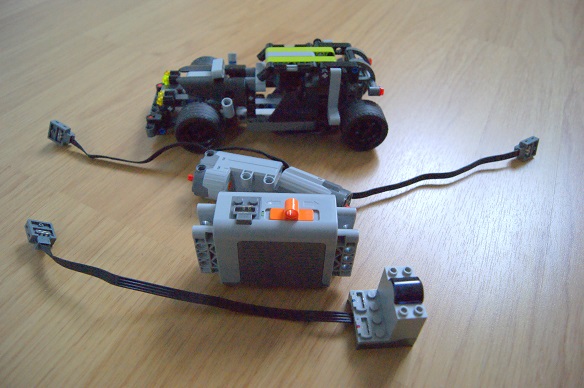
So how does it fare for radio control? I would love to make this model skid round the room but alas it doesn’t have working steering, and it isn’t big enough for the parts we need to add. The Lego Power Functions battery box (with the orange switch in the picture below) is nearly as big as the racer. And we also need to squeeze in the receiver (bottom right), the servo and the motor.

42046 Getaway Racer and radio control parts


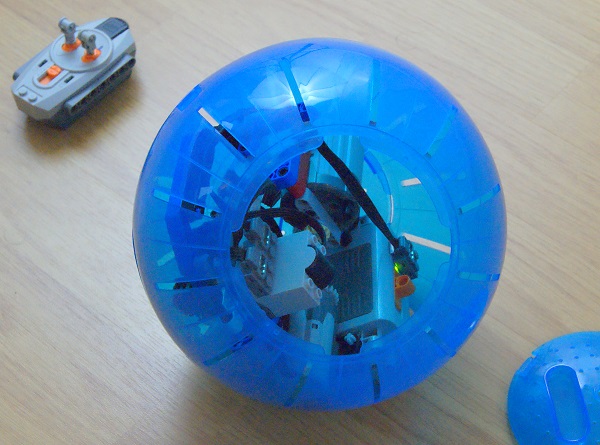
So the little getaway racer has got away without radio control today. Shame really, cos I really like that car. Next time, we will look at something slightly bigger.

* Note on Links – Many links on this page point to Brickset.com instead of shop.lego.com. Although I would like to point you directly to the shopping page, the correct web address depends on what country you are shopping from, and might not work. So I point you at Brickset instead. Brickset has links to the Lego shopping pages in different countries, as well as loads of other useful information about the LEGO sets, going right back to the dawn of time.


Clock Number 2

It’s been a while (too long really) since I blogged about the clock. In that time, I’ve spent much time building, but not much time blogging. So here’s Clock number 2, which I built over the summer of 2015:

A guy called Ben van de Waal has a Youtube channel full of LEGO escapement mechanisms. It appears he just does the escapement mechanisms, not the whole clock.

This clock uses one of Ben’s escapement mechanisms. I chose the mechanism that uses the 40-tooth gears, on the basis that it would give the least rotational motion, and thus the least travel of the string … which would result in a longer running time. That was the theory. This is what it looks like. In the working clock, this is all buried inside the frame.Clock1-escapement-detailIn practice, this mechanism is very difficult to adjust correctly. The blue bar with the pink “cheese” wedges on must be adjusted vertically on the axle by a tiny fraction of a millimetre – which is almost impossible to do in LEGO. The lesson I learned with this clock is that the teeth of LEGO gears are not the right shape for an escapement mechanism.

Nevertheless, the clock works, and it runs for about five minutes.

I also discovered a guy called KEvronista on Youtube and he has made some stunning clocks in LEGO too. Stand with me in awe at the amazing clock mechanisms he has made.


BB8 in Lego – first attempt

Ever since the first trailer appeared for Star Wars Episode VII, the world fell in love with BB8. I could just buy a non-Lego version, but I would like to see if it is possible to create a working BB8 in LEGO Technic. There is only one way to do this – trial and error. Rupert Cross, I dedicate this post to you.

WARNING – LEGO purists beware that this blog-post contains non-LEGO parts. If that sort of thing offends you, look away now. Also I offer an apology to Technic guru Sariel: please do not show this video to your hamster.

First attempt – 2nd January 2016.

The first mechanism I tried has a pair of wheels at the bottom which can rotate and drive. The tan-coloured gears make the wheels drive. The grey gears (crown and pinion) are used to rotate the driving plate – making it possible to steer the driving wheels in any direction.

The two motors are attached to the “Power Functions” remote control and battery, and these are mounted as shown.

Turning the thing over, we have a mechanism that can steer and drive independently. Watch the video to see it in action. Remember, this is the underneath – so those wheels should be on the ground.

The structure is then housed inside a hamster-ball. LEGO don’t make a sphere big enough for this project, so I had to improvise. FULL DISCLOSURE: No animals were hurt in the making of this project.

BB8-3

Immediately I can see a problem. The battery is so heavy that it skews the whole thing over to one side. So far in fact that the wheel is barely in contact with the inside of the ball. Let’s see it in action.

At the beginning of the video, at the bottom of the ball, you can see the wheel steering. Then it tries to drive … and the whole structure unbalances. With insufficient traction, the hamster ball is just able to wobble.

Rupert, this is how one becomes an expert builder: trial and error. Don’t be scared to make lots of mistakes. As you can see, this one was a bit of a disaster. But we learned some valuable lessons:

  • The LEGO Power Functions battery box is heavy,
  • The mechanism must be well balanced,
  • The co-axial drive mechanism works – and might be useful for something else.

Back to the drawing board I’m afraid. I have some more ideas … so watch this space. In the meantime, I found a guy in Hungary (in Hungarian – or auto-translated into English) who came up with a mechanism last April. I don’t know if he ever completed his version. If that’s you, please add your comments below.