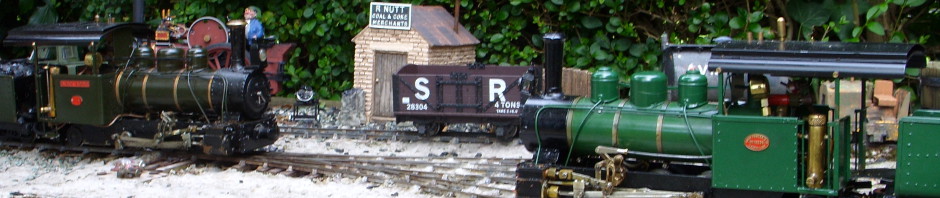
Long ago, I promised myself that I would build a steam loco. Progress is slow, but it is steadily progressing. The loco I am building is a kit from Roundhouse Engineering, and it has nice clear instructions. By the end of October, I had built the chassis and was starting with the valve gear. This loco uses a variant of Walschaerts Valve Gear. I still haven’t quite understood how valve gear works, but I’m hoping that by building it, enlightenment will happen.
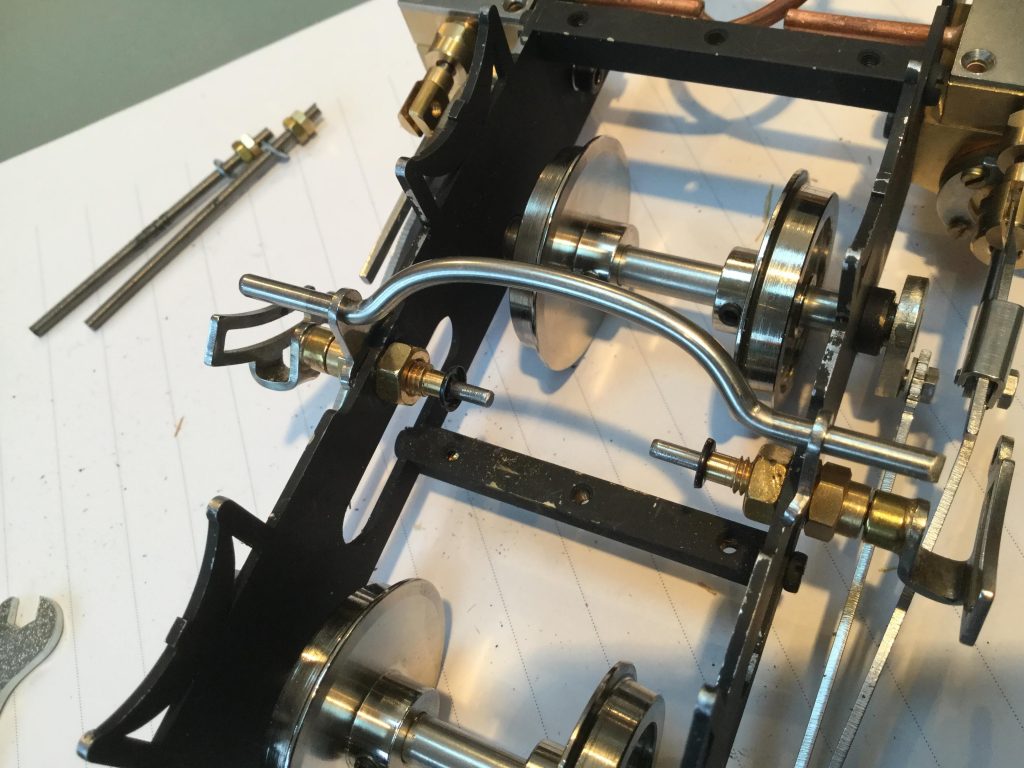
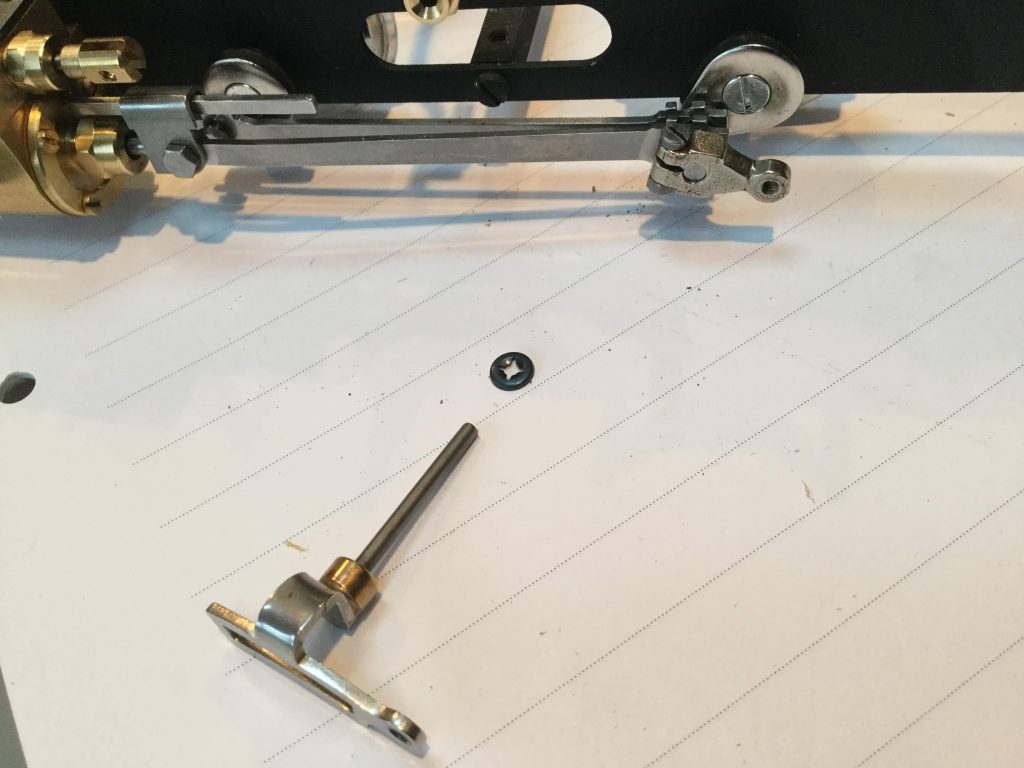
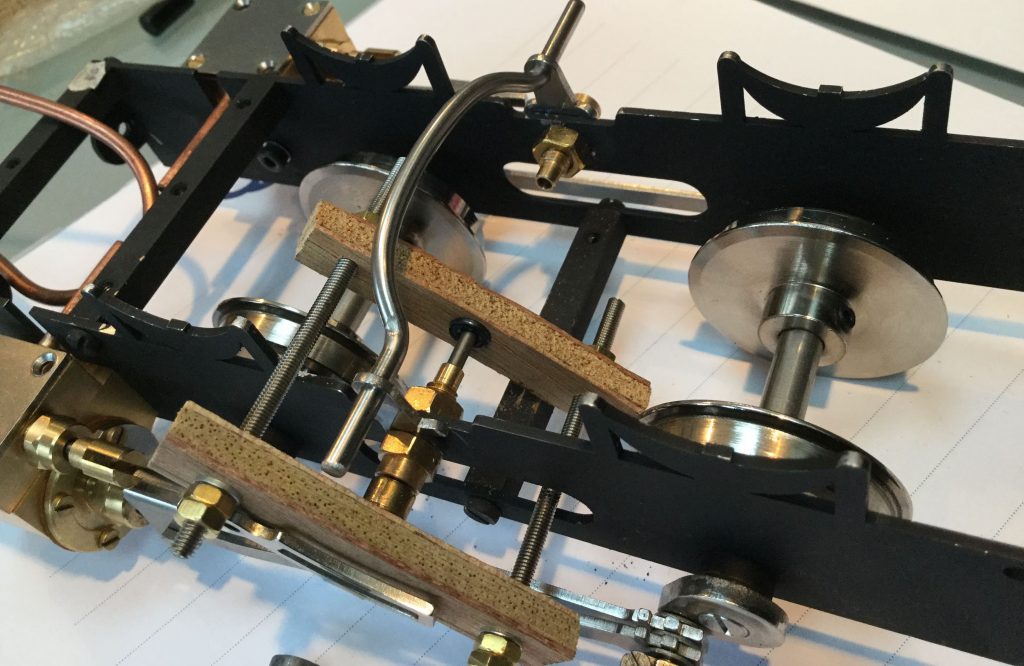
All was going well until the step that involves installing starlock washers onto the axles behind the expansion links. The expansion link has an angled bit (see front of the picture below) which I don’t want to bend. The starlock washer is supposed to go on the other end. But I could not get the blasted thing on the axle.
It has to be installed when the link is already mounted in its bearings in the frame: the starlock washer holds the expansion link in place. So it’s got to be done in situ.
I emailed Roundhouse for advice. They suggested using a block of metal with a hole in it behind the axle. I’m not ready to start metalwork, and my feeble fingers aren’t up to the job. I realised I would need some form of clamp. So I gave up for the evening and went to bed.
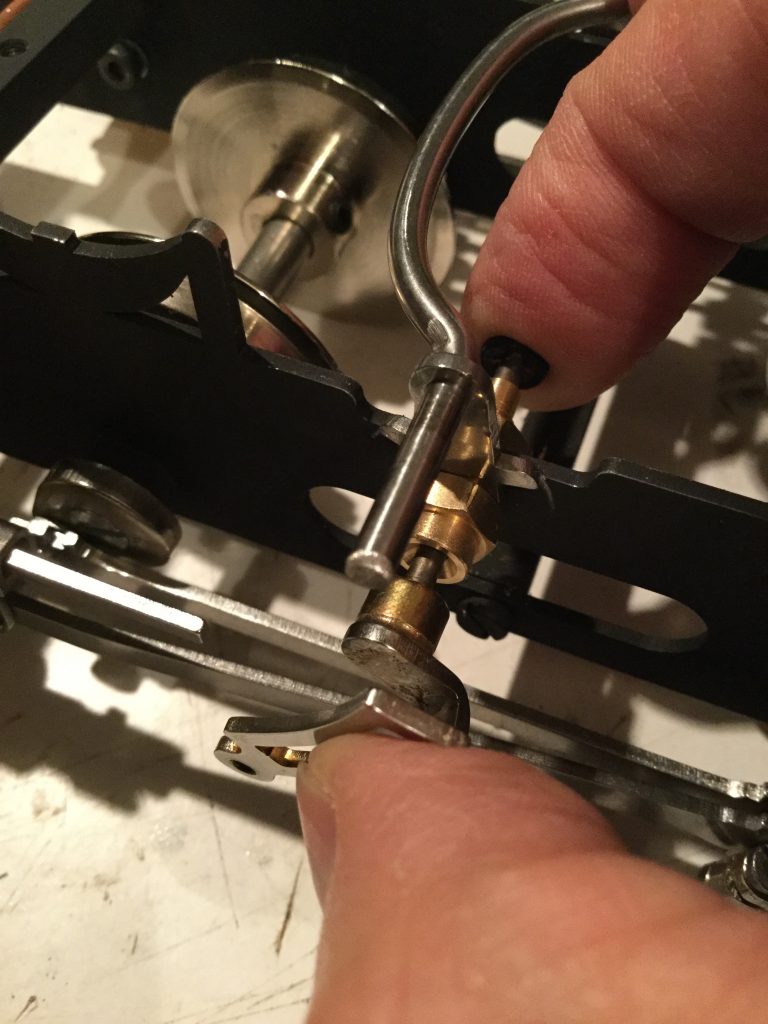
Divine inspiration came whilst trying to get to sleep, and an idea for a simple clamp popped into my head. Here it is (one expansion link is shown here in the clamp, the other link is to the left so you get a better idea of what it looks like).
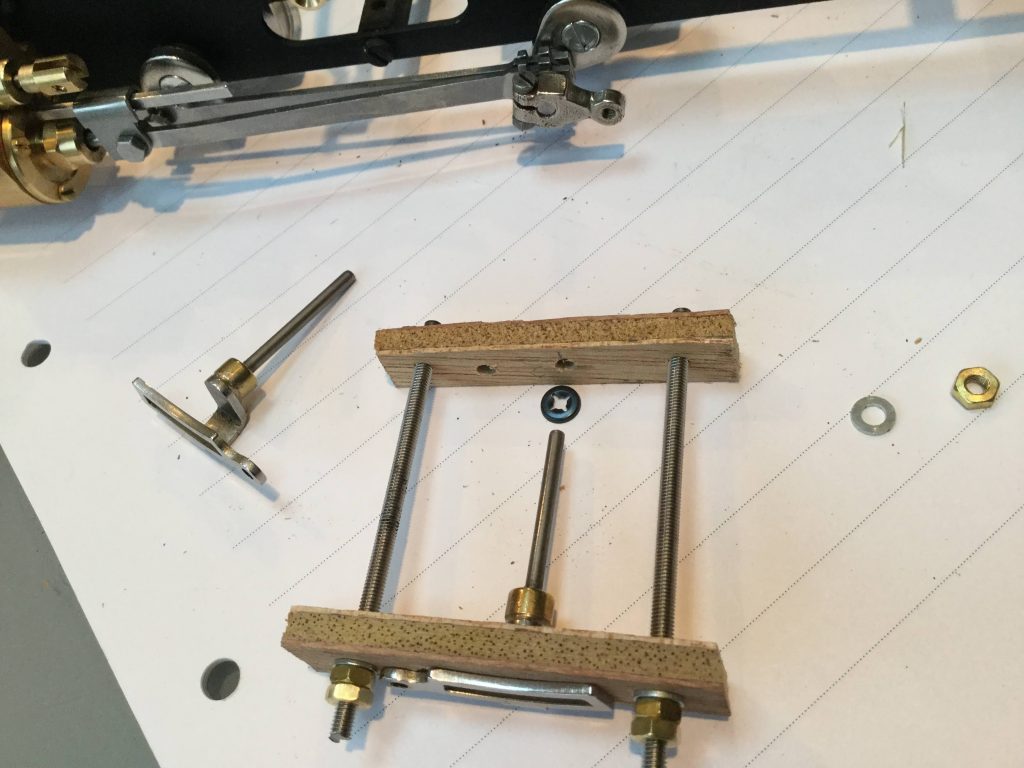
It is made of two pieces of plywood approx 10mm x 45mm, and two lengths of M3 threaded bolt (M3 because I happen to have some). The ply is 5mm thick, chosen to fit inside the angled bit of the expansion link. Holes are drilled in strategic places for the bolts and as a gap behind the starlock. By tightening the nuts, the starlock washer should hopefully be forced onto the axle by the plywood. This was prototype 1 of my clamp, and I expected it to break. I would rather the failure happened on my clamp, rather than on the parts for my loco.
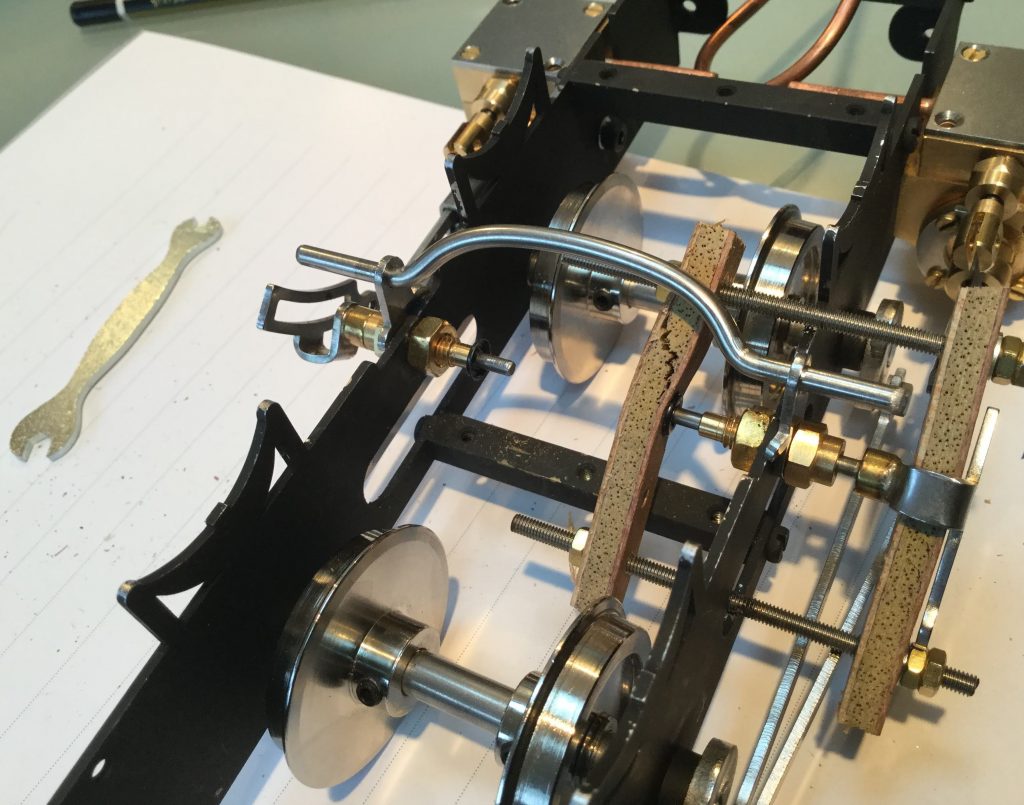
I started to tighten the nuts. Success! The starlock is forced onto the axle.
The starlock is really quite resistant to being installed, and the clamp wasn’t very happy, bending precariously. But it did the trick. Once the washer was on the axle, I dismantled the clamp, and used the pieces of ply between my fingers to ease the washer into place, using a carefully cut up train ticket as a spacer between the washer and the bearing to make sure it isn’t too tight.
Success! Now to get my head around Walshaerts Valve Gear.